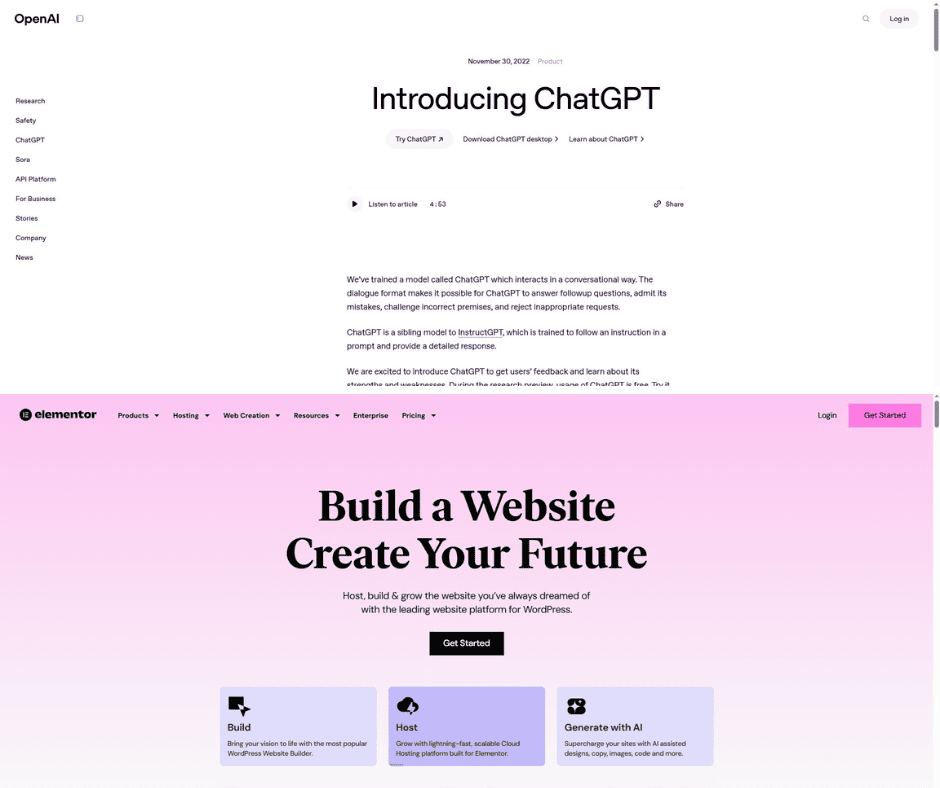
When I started the Tireless Grandpa project, I knew I wanted a proper home for everything I’d create. A central place for blog posts, updates, experiments, and whatever else this AI journey might bring.
There was just one small problem:
I had zero prior experience in building websites.
Sure, over the years I had casually watched a few YouTube videos on the topic. But I never actually applied any of it — until now.
💻My Setup: One Screen for AI, One Screen for WordPress
The main thing that guided my setup was a dual-screen layout.
On one screen: ChatGPT.
On the other: WordPress with Elementor.

That’s how most of my evenings looked — after my 9–5 job, I’d sit down and start building. ChatGPT helped me figure out what to do next, explained unfamiliar terms, offered quick solutions, and saved me from unnecessary Googling.
There were plenty of errors, confusion, and weird layout issues along the way. But step by step, it started to come together.
🧩 The Basic Website Setup (Even If You’re Starting from Zero)
Everyone has their own preferences when it comes to platforms, tools, and services. This isn’t about recommending a specific provider — it’s about understanding the basic steps:
- Pick a domain name
Choose something that fits your project and is easy to remember. I landed on “Tireless Grandpa” after testing a bunch of combinations. While you can rebrand later, keep in mind that domain names tie you to a niche — if you start with something like “AIHacksDaily,” it won’t feel right if you later pivot into food or travel content. - Register the domain
Use any domain registrar (Namecheap, GoDaddy, Google Domains, etc.). Prices vary, and there are often discounts if you search a bit or ask ChatGPT for current deals. Getting the domain makes everything feel more official. - Choose a hosting provider
Basic shared hosting is enough for most beginners. Providers like Bluehost, Hostinger, or SiteGround are popular choices because they are beginner-friendly, affordable, and come with solid customer support. You don’t need fancy features at the start — you just need to get online. - Install WordPress
Most hosting platforms offer one-click WordPress installation. It takes just a few minutes and gives you access to your new site dashboard. - Install a page builder
I used Elementor, which is advertised as a drag-and-drop builder. While that sounds easy, the truth is — if you’re completely new to this — it’s not always intuitive. Things won’t always land where you expect them, and the layout can break quickly if you’re not careful.
But don’t get discouraged. With a bit of trial and error, and help from AI when needed, it gets easier. - Start building
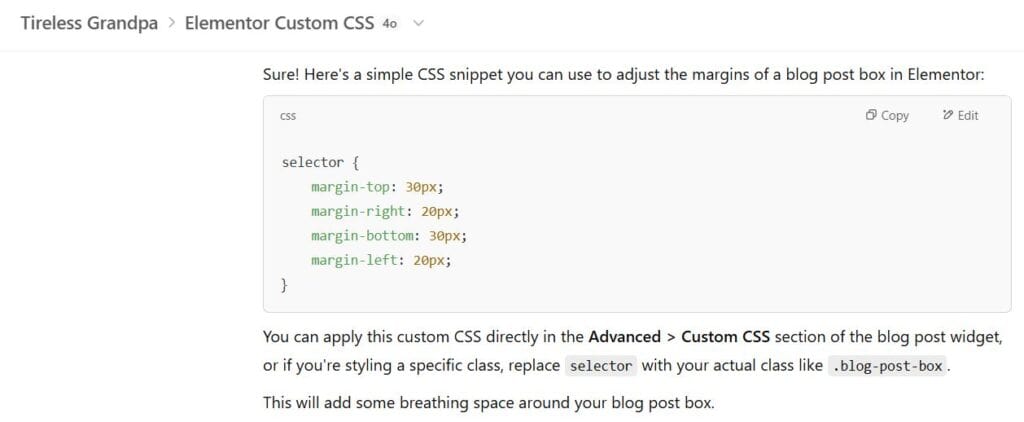
Once everything was in place, I began creating the actual pages.Whenever I got stuck — whether something looked misaligned, too tight, or just off — I’d ask ChatGPT for help. Most of the time, it would give me a small piece of code I could copy and paste into the site’s settings to fix the problem. These little code blocks controlled things like spacing, colors, or font sizes — and they helped me fine-tune the look of my pages without needing to fully understand how coding works. That process became my routine: build something, get stuck, ask AI, apply the fix, move on.

🏗️ What I Built So Far
Here’s what I’ve put together so far for the site:
- Home Page
A simple intro to the project and what it’s all about. Still evolving, but it’s a clean entry point into the world of Tireless Grandpa. - Blog Page
The core of the site — where all blog posts live. Nothing fancy, just a straightforward layout that does the job. - About Page
A brief overview of who I am, why this project exists, and what you can expect. - Contact Page
Just a simple way for visitors to get in touch — no endless forms, just name, email, and a message box. - Single Post Template
I set this up so every blog post shares the same structure. It keeps everything looking neat and consistent. - Header & Footer
Created using Elementor Pro — logo, navigation, social links, and basic footer info. Clean and functional. - Contact Form
Built with Elementor’s form widget. You don’t need to know what a “widget” is — just think of it as a ready-made block you drag into place and customize.
💡 Elementor Pro also includes ready-made templates and pre-designed sections, which can definitely speed things up. But don’t expect everything to fall perfectly into place. Even with drag-and-drop tools, things can get confusing — especially if it’s your first time using this kind of editor.
Still, once you spend some time exploring the interface and trying things out, it starts to make more sense. You don’t need to write code, but you do need patience.
And when something didn’t look the way I wanted — whether it was spacing, mobile layout, or alignment — I turned to ChatGPT. It often provided small bits of code I could paste into the settings to fix the issue. I didn’t need to understand the code fully — I just needed to know where to put it and what it would fix.

✍️ Final Thoughts
I didn’t follow a specific course or blueprint. Most of what I did came from asking ChatGPT, which covered about 80–90% of the guidance I needed. YouTube and Google filled in the visual gaps when I wanted to double-check something or see it in action.
None of this happened overnight. It took evenings, small wins, and a bit of stubbornness. But step by step, the site came together.
My biggest tip?
Write down your ideas first — even roughly. Then pass them to AI and let it help you shape them into something real.
Because the hardest part isn’t choosing a tool or a platform — it’s getting started.
Faceless, but not soulless — just one persistent human using AI to turn ideas into something real. One blog post at a time.


